I'm getting ready to have my second little munchkin soon and I realized that I've never documented the birth story of my first little munchkin. We're having a just-want-to-lay-in-bed-and-cuddle day today, so I figure this is the perfect time to reminisce about the beautiful birth of my first baby...
When I first became pregnant, I knew I wanted to give birth in a birth center. My uncle had told me about how his wife gave birth to their daughters in water at a birth center, and it sounded fabulous! I was so happy when I found out that my insurance covered a birth center not too far from my house; I was not so happy when I found out, at 30 weeks pregnant, that my insurance would be dropping the one and only midwife who delivered at the birth center one month before I was due.
My midwife said that if I had to deliver at a hospital, the University Hospital was a great one. They were the only certified "Baby Friendly " hospital in the state, and she said they were very supportive of midwives and of natural birth.
So at 32 weeks pregnant, I had my first check-up at the midwifery clinic at University Hospital. We were all surprised to discover that I was already 80% effaced, and I was consequently placed on bedrest. Over the following four weeks, I had at least four false alarms, when I was sure I was in labor, but thankfully wasn't.
I was told I had to make it to 36 weeks in order to deliver with a midwife (rather than an obstetrician) at the hospital. At exactly 36 weeks I went back to work, because we had a big international event I was responsible for. I spent from about 6 am till 10 pm on my feet that day. Then I came home and celebrated the end of the 4-week pelvic rest my midwife had ordered :)
I'm not sure if I over did it physically or if my body and my baby just knew the time was right, but I awoke to a gush of water at 4:20 am. When I told my hubby that my water broke, he said "Are you sure?" I was sure my water had broken at least two other times before, but at the hospital they determined that I had just wet myself. This time, there was no question. I knelt on the bed and you could HEAR the fluid gushing out!
So we started to get ready to go to the hospital. My contractions didn't feel any stronger than Braxton-Hicks contractions, so we kind of took our time. We pulled out the video camera to record a little something before we left, only to discover that it was broken! It would record audio but not video... not good!
We hurried to finish getting ready so we could run by Walmart (the only store we figured would be open at 6:30 in the morning) on the way to the hospital. I stayed in the car, sitting on a big blue IKEA bag so I wouldn't soak the seat in my car. The first Walmart didn't have what we were looking for so we headed to another. We were in no hurry, because I was still feeling fine... the only thing that made me feel a little uncomfortable was sitting in soaked jeans!
We finally got to the hospital around 8 am, and even though my jeans were visibly soaked down to my calves, they stuck me in triage for about a half hour to make sure I was really in labor.
I was moved to Labor & Delivery around 9 am and given an IV for the strep B antibiotics. It took about a half hour to receive my full dose, and then my IV was capped so I could move to the tub. The thing that was most disappointing about having to deliver in a hospital was that I wouldn't be able to have a water birth. Luckily I was able to get one of the two rooms with a tub to labor in.
By the time I was done with the IV antibiotics and able to get out of bed, my contractions were strong enough that I had to focus thru them. I labored on a birth ball and on the toilet while the midwife, Sarah, filled my tub. She was so sweet and brought lavender essential oils for the bath to help me relax.
I was a little nervous about who would end up delivering my baby (yet another drawback to not being able to deliver at a birth center with only one practicing midwife!) The midwifery clinic at the hospital had 9 or 10 midwives in rotation for deliveries. I had exams with two of the midwives before going into labor, and had met a couple more when I had gone to the hospital with false labor. I had met Sarah one of the times I was in false labor, but had only talked to her briefly. I remember my first impression was that she looked way too young to be delivering babies! She ended up being wonderful though. She had a very calming aura about her and I felt totally at ease around her.
I don't really remember how long I labored in the tub... time really seemed to fly by thru the whole labor. I could definitely feel my contractions but they didn't really bother me. I knew they were bringing my baby closer to me and I just couldn't wait to hold her!
Pushing was probably my favorite part. I knew that it meant that I was just moments away from meeting my baby girl! I remember screaming a lot as I was pushing (which I was kind of embarrassed about), but then having a nice long recovery between each contraction. I remember feeling more happiness and excitement, and gratitude towards the people who were assisting me in labor, than pain.
The pushing phase took a little longer than I think my midwife expected. She kept telling me "One more push, and she'll be here!"... but it took at least a dozen pushes after that! After about 45 minutes of pushing, our baby girl finally slipped into her daddy's arms (with the midwife's assistance, of course) and we discovered why it had taken so long for her to work her way out... she was born with her hand on her face! (Not surprising, since her hands were always by her face in the ultrasound images!)
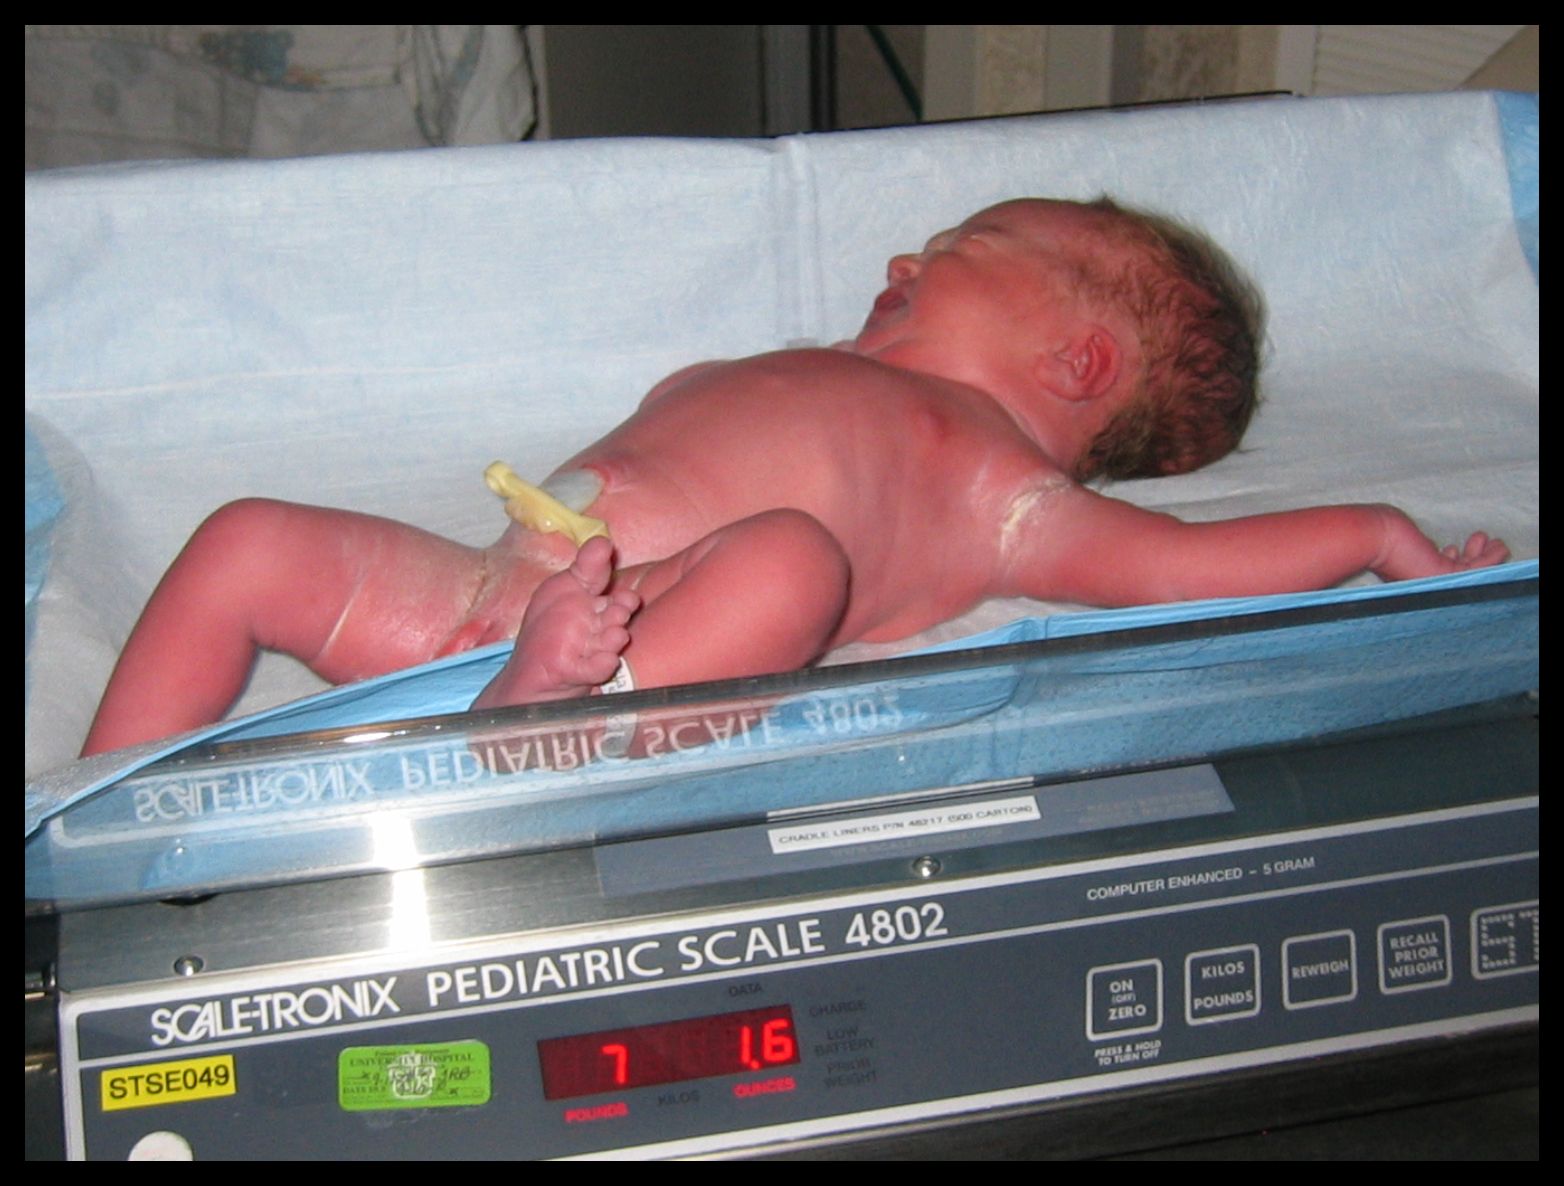
I really can't even begin to describe the euphoria I felt when they finally put my baby in my arms. I was in awe at the beautiful, perfect child we had created. I was so grateful that my labor and our baby's delivery went so perfectly according to plan (especially after the "pre-term labor" scares!) And we were shocked when we discovered that our technically premature baby tipped the scales at almost 7 lbs 2 ounces!
I guess it just goes to show you that estimated due dates are truly an ESTIMATION! Apparently, I cook babies fast :)
One of the great things about delivering in a "baby-friendly" hospital is that they understand the importance of bonding between mother and baby. Sarah put our baby on my chest immediately after she was born, and left her there for a good half hour or more before the she or the nurse touched her again. My hubby and I were able to bond with our sweet little munchkin as I delivered the placenta. After the umbilical cord stopped pulsing, my husband was able to clamp and cut it, and we were able to figure out the whole nursing thing while Sarah stitched up the two tiny battle wounds I ended up with. (I remember that getting stitched up seemed to hurt the worst of all... the local anesthetic didn't seem to work, and pain without a purpose just hurts!)
I can't remember if they weighed our munchkin before or after we had tried nursing (so that may have added an ounce). I just remember I thought it was cool that they let us have time to bond with our little angel before they did anything else. I also thought it was really need that they didn't take her away to bathe her right away... they allowed her vernix to be absorbed, which was really important to me. (To understand why, check out this article:
http://www.birthresourcenetwork.org/resources/89-does-your-baby-really-need-a-bath ,
specifically the second-to-last paragraph!) When it was finally time to bathe our little one, a nurse brought in a little tub of water and supplies and showed daddy how to do it :)
It was so precious watching my sweet hubby care for his baby girl!
Probably the worst thing about delivering our baby at a hospital was trying to recover while nurses came in poking and prodding me every hour or so. Between the constant check ups, a bed that kept randomly inflating and deflating on its own, and the noise from the remodeling going on all over the hospital, I barely got any sleep that night and couldn't wait to go home the next day! I think we managed to make it out the door exactly 24 hours after our baby was born.
The next day, I felt great! I had read that one of the benefits of a natural delivery was a quick recovery, but I wasn't expecting to feel back to normal as soon as I did. The day after we got home, I was out running errands and even popped in to work for a bit. I think I was still on an endorphin high from delivering my munchkin! (Did you know endorphins have an effect 200 times that of morphine?!)
So needless to say, I'm definitely planning another natural birth. I've been studying
Hypnobirthing this time around and find it fascinating! "Hypnobirthing" is really all about teaching yourself to relax... not so much about hypnotizing yourself. By staying relaxed and not allowing yourself to be afraid, I truly believe you can avoid most (if not ALL) of the pain of labor.
For more information about the benefits of natural childbirth, check out
this article, by J
udith L
othian, the Chair of the Lamaze International Certification Council. And if you're not sure you have what it takes for a drug-free birth (
YOU DO), definitely check out
Ina May's Guide to Childbirth, by world-renowned midwife,
Ina May Gaskins. When it comes to reminding us of our natural abilities as women, this is hands-down the most empowering book I've ever read!
Having a natural birth is such an amazing, empowering experience and I can't wait to do it again!!